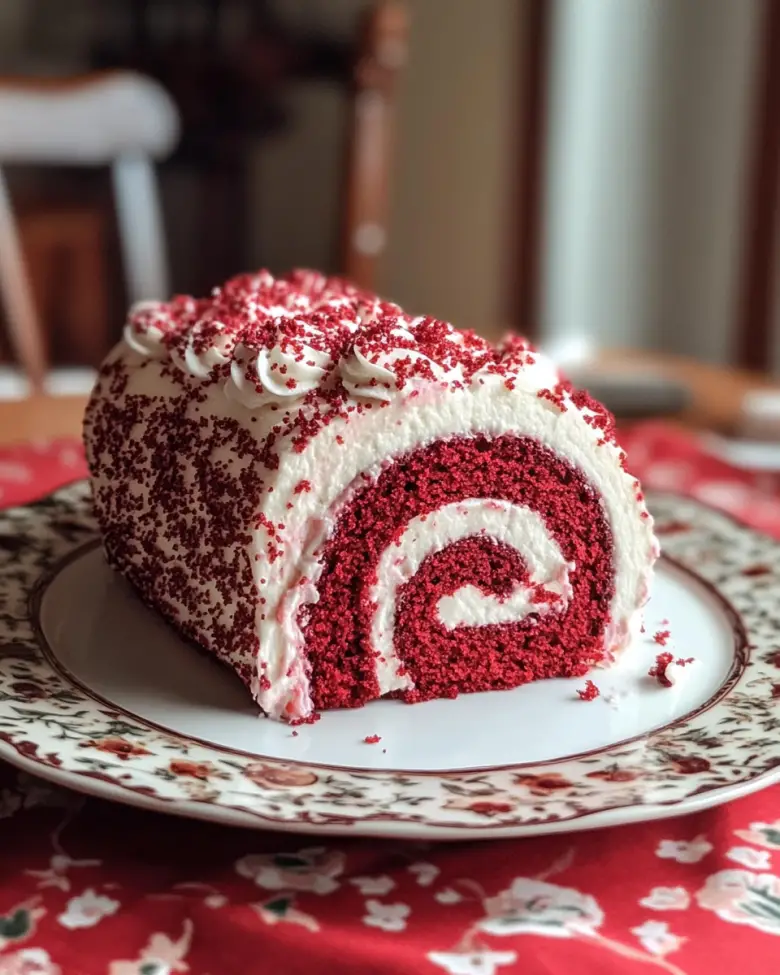
If there’s one dessert that never fails to impress and elicit oohs and aahs, it’s a Red Velvet Cake Roll. I still remember the first time I tried a slice of this delightful dessert at a friend’s birthday party. The rich, vibrant red color coupled with the fluffy white cream cheese filling just blew my mind! I mean, how could you not love something that’s as visually stunning as it is delicious? It became my go-to dessert to make, and every time I roll it out (pun intended!), I’m reminded of those sweet memories and the looks of amazement on everyone’s faces as they take a slice.
What makes this cake roll unique is its dance of flavors and textures: the moist cake enveloped around a luscious filling, all wrapped up in that striking crimson hue. It’s perfect for special occasions or just a cozy night in when you want to treat yourself. Plus, it’s surprisingly simple to make once you get the hang of rolling it up. So, are you ready to dive in? Let’s get baking!
What’s in Red Velvet Cake Roll?
All-Purpose Flour: This is the main structure of the cake. I usually opt for unbleached all-purpose flour as I find it gives a slightly richer flavor compared to bleached.
Cocoa Powder: Just a dash of cocoa powder brings depth to the flavor without overwhelming the classic red velvet taste. I recommend using a high-quality unsweetened cocoa for the best results.
Sugar: This sweet component balances the cocoa’s bitterness and adds moisture. Granulated sugar works just perfectly here.
Eggs: They help to bind everything together and give the cake its lovely lift. I always use large eggs for this recipe.
Vegetable Oil: Instead of butter, I prefer vegetable oil for this cake roll as it keeps the cake extra moist.
Red Food Coloring: You can’t have red velvet without it! I opt for gel food coloring for a more vibrant color without altering the cake’s consistency. It’s key to that stunning appearance.
Vanilla Extract: This adds a lovely aromatic flavor that complements the cocoa perfectly. Pure vanilla extract is always my choice for the best flavor.
Buttermilk: Buttermilk adds a subtle tang and keeps the cake tender. If you don’t have any, you can easily make a substitute with milk and vinegar.
Cream Cheese: The star of the filling! Cream cheese adds that scrumptious tanginess that makes every bite heavenly.
Powdered Sugar: For sweetness in the filling, a little powdered sugar is used to balance the cream cheese tang without being too sweet.
Is Red Velvet Cake Roll Good for You?
You might be wondering about the health considerations when it comes to indulging in a slice of Red Velvet Cake Roll. Here’s the scoop:
Red Food Coloring: While the gel food coloring is generally safe, it’s always good to be aware of your preferences or dietary restrictions. Natural colors can be a fun alternative if you’re looking for something different!
Buttermilk and Cream Cheese: Both can be high in fat, but they also bring calcium and some protein to the table. Moderation is key!
Flour and Sugar: This cake roll does use a good amount of sugar and carbohydrates, which is something to enjoy mindfully if you’re watching your intake.
All in all, enjoying a slice of this delectable cake roll is about balance. I love to savor it on special occasions or when a little sweet indulgence is well-deserved.
Ingredients List
– ¾ cup all-purpose flour
– 1 tablespoon cocoa powder
– 1 cup granulated sugar
– 3 large eggs
– ½ cup vegetable oil
– 2 tablespoons red food coloring (gel preferred)
– 1 teaspoon vanilla extract
– ½ cup buttermilk
– 8 oz cream cheese, softened
– 1 cup powdered sugar
This recipe serves about 8 slices of deliciousness!
How to Make Red Velvet Cake Roll?
1. **Preheat the Oven**: First things first, let’s get that oven heated up to 350°F (175°C). Prepare a 15×10 inch jelly roll pan by lining it with parchment paper. This helps the cake slide out beautifully!
2. **Mix the Dry Ingredients**: In a bowl, whisk together the flour, cocoa powder, and sugar until well combined.
3. **Combine the Wet Ingredients**: In another mixing bowl, beat the eggs. Then add the vegetable oil, red food coloring, vanilla extract, and buttermilk. Mix until everything is well incorporated.
4. **Combine Wet and Dry**: Gradually add the dry mixture to the wet mixture, stirring gently until just combined. Don’t overmix; we want a tender cake!
5. **Bake the Cake**: Pour the batter onto the prepared jelly roll pan and smooth it out evenly. Bake for about 15 minutes or until a toothpick inserted in the center comes out clean.
6. **Cool and Roll**: Once baked, immediately remove the cake from the oven and set it upside down on a clean kitchen towel sprinkled with powdered sugar. Peel off the parchment and roll the cake up tightly in the towel while it’s still warm. Let it cool completely in this rolled-up form.
7. **Make the Filling**: In a mixing bowl, beat together the softened cream cheese and powdered sugar until creamy and smooth.
8. **Assemble the Roll**: When the cake has cooled, unroll it gently and spread the cream cheese mixture evenly, leaving a small border around the edges. Roll it back up (without the towel this time) and wrap it in plastic wrap.
9. **Chill and Serve**: Refrigerate for at least an hour before slicing. This allows the flavors to meld beautifully!
Delightful Tips for Your Red Velvet Cake Roll
– **Make It Festive**: Consider adding a sprinkle of festive red and white sprinkles on top for a pop of color! This is especially fun for holidays or birthdays.
– **Flavor Variations**: Experiment with flavored extracts like almond or even a hint of orange zest for a unique twist.
– **Perfect Your Roll**: If you find rolling the cake challenging, don’t stress! As long as it tastes delicious, that’s what counts. Practice makes perfect, and the more you make it, the easier it will get.
I truly hope you give this Red Velvet Cake Roll a whirl! It’s not just a dessert; it’s a conversation starter, a beautiful centerpiece, and something that I hope brings as much joy to your table as it has to mine. After whipping one up, I would absolutely love to hear how it turns out for you! Happy baking!